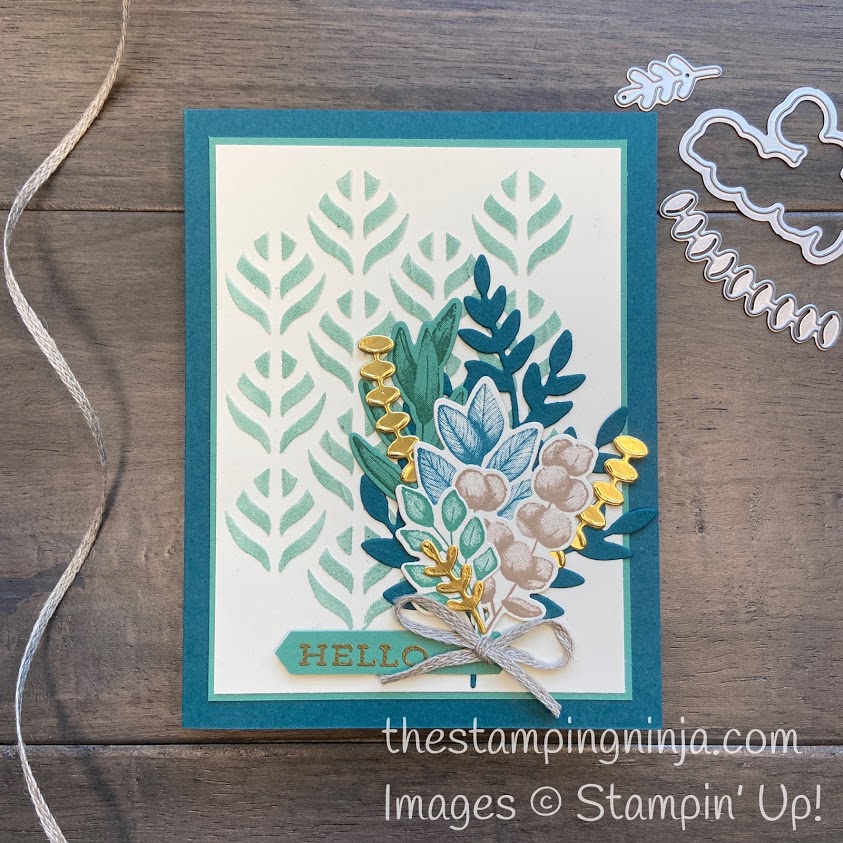
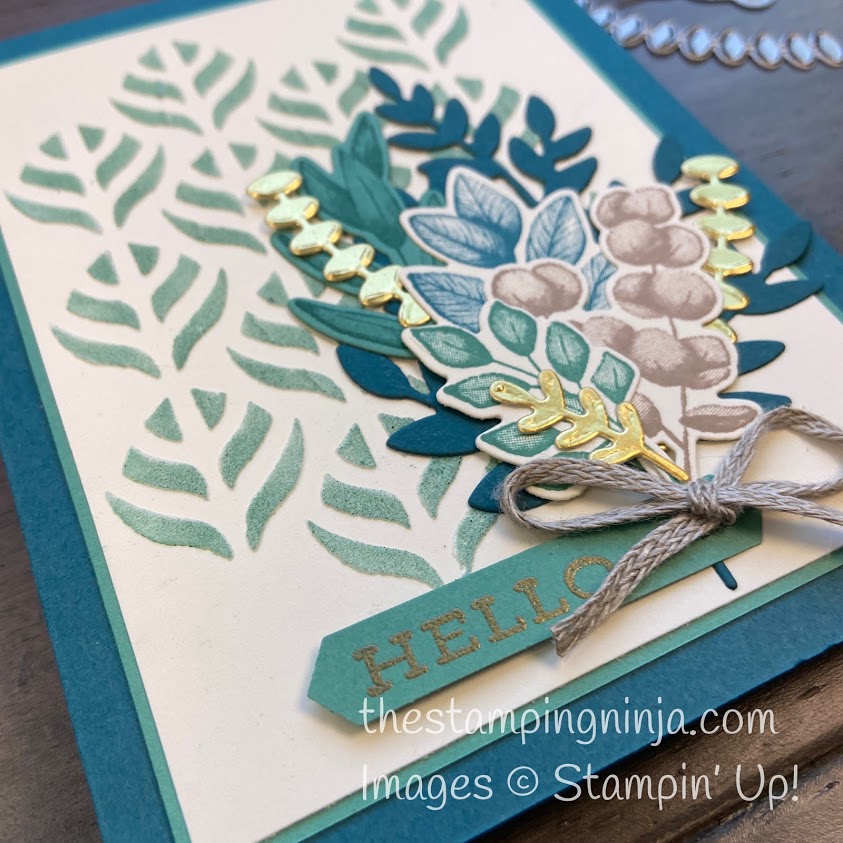
Today I am showcasing one of my favorite techniques with the Saying Hello with Forever Fern card. What is it you ask? It is using embossing paste and decorative masks.

I really like playing with the embossing paste. You can make it any color that you wish and it gives great texture to your project. Not only that, patterns are easy to create when you use the decorative masks.
The embossing color for today’s card is Just Jade. It is a beautiful new In Color and pairs well with other blues and greens.
Want to make it?
To make it, start with a card base of Pretty Peacock layered with a 3 3/4 x 5 of Just Jade card stock on top.
Using the baroque decorative mask, emboss a 3 5/8 x 4 7/8 piece of Very Vanilla card stock with embossing paste. (cover part of the decorative mask with post it notes prior to embossing to make sure you only emboss the part that you want to show).
While the paste is drying, stamp and crop your images.
Once it is dry, place your clean decorative mask back over the dried embossed image that you just did, and apply Just Jade ink to the same area using a sponge dauber.
Heat emboss the sentiment using Gold Stampin’ Emboss on a scrap piece of Just Jade and punch out using the Classic Label Punch.
Adhere the embossed background and the flowers to the front of the card as shown.
Attach the sentiment using a Mini Stampin’ Dimensional on the left and Multipurpose Liquid Glue on the right (you don’t want the added height on the right) and your bow with a glue dot.

Want to see another example? I have done a card using this technique in the past and you can find it here.

If you would like to purchase the supplies used to make the Saying Hello with Forever Fern card, you can click here or any of the photos below. When ordering, be sure to enter my monthly host code to take advantage of the Ninja Loyalty Rewards Program.

Don’t forget about July’s Bonus Days. For very $50 you spend, you earn a $5 Bonus Days coupon.

If you enjoyed this post, please be sure to…
- Sign up for my Newsletter and receive a FREE exclusive PDF Tutorial.
- Sign up to get blog posts delivered to your in box.
- Use this Month’s Host Code on orders under $150 to earn your way to a FREE $50 shopping spree on me using the Ninja Rewards Loyalty Program.
- Shop and save the CLEARANCE RACK and PRODUCT BUNDLES.
- View My Gallery for more great inspiration.
- Follow me on PINTEREST, FACEBOOK, and INSTAGRAM.

I love your use of the embossing paste here! I had not seen the technique of sponging it after it’s dry, so thank you for sharing that! Love the way you gathered all the flowers together with the bow too! and…I really like the card you did with the tasteful textures set too that uses the paste! keep ’em coming!
Thank you Lynne for the kind words. I find this way of coloring the embossing paste a little easier and less messy than adding color to it first. If I need more paste, it’s easier to add white than trying to get the exact color again and when you add the color after, it allows you to control the amount of color you use. 🙂
Very pretty, I’m just getting back into wanting to use my embossing paste again! thanks for the push this morning to make that happen today!
Thank you Rose! I’m glad that I could give you a little motivation 🙂