

This month, we are celebrating Winter/Holidays for the Stampers Showcase Blog Hop. And, for me, nothing screams winter more than snowflakes.

I decided to go a little untraditional with the color as well. Snowflakes are usually paired with blues, but you have to admit that they look pretty good in pink.
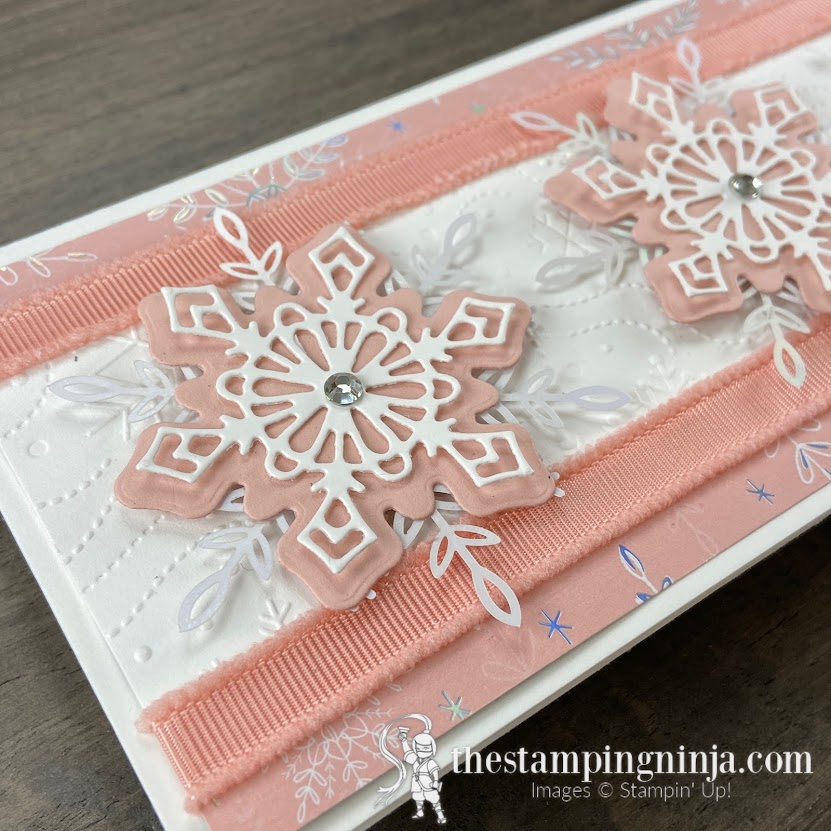
The Whimsy & Wonder specialty designer series paper (DSP) is a pack of paper that is made up of untraditional holiday colors. You don’t usually think of Blushing Bride as a holiday color, but it really works!
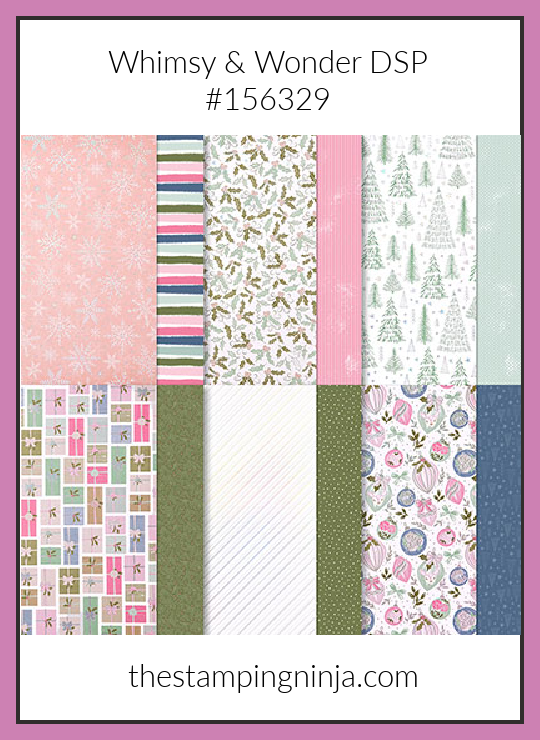
The other combination of colors in this DSP are:
The pictures don’t really do this paper justice. It is gorgeous in person with all iridescent accents!
To make the card
- Begin with a 7″ x 8 1/2″ piece of Basic White Thick cardstock, score and fold at 3 1/2″ to form your card base.
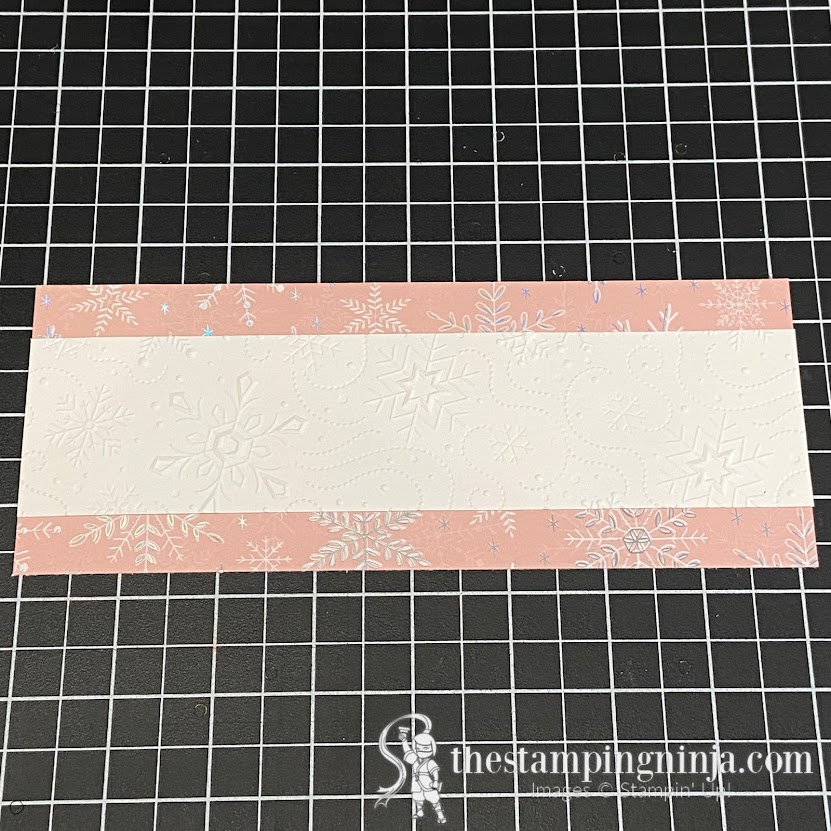
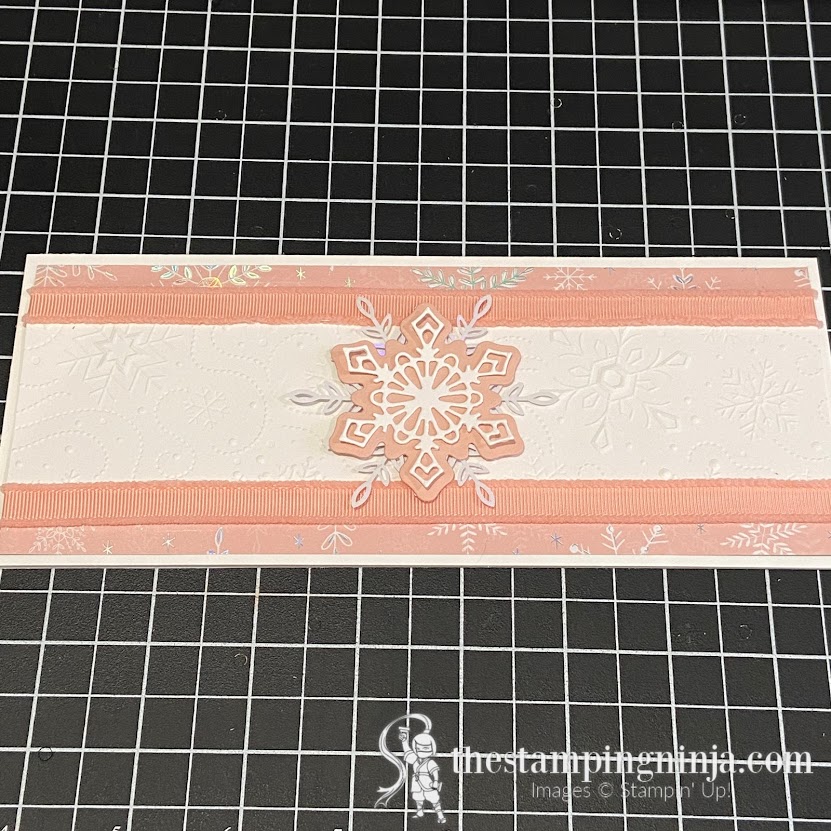
- Sandwich a 2″ x 8 1/4″ piece of Basic White cardstock in the Wintry 3D embossing folder and run through your Stampin’ Cut & Emboss machine. (hint- you will need to do this in two steps. Place half of the piece into the folder, emboss, then turn it around, insert the other side, and emboss.)
- Adhere the white embossed piece to a 3 1/4″ x 8 1/4″ piece of Whimsy & Wonder designer series paper (DSP) using Stampin’ SEAL.
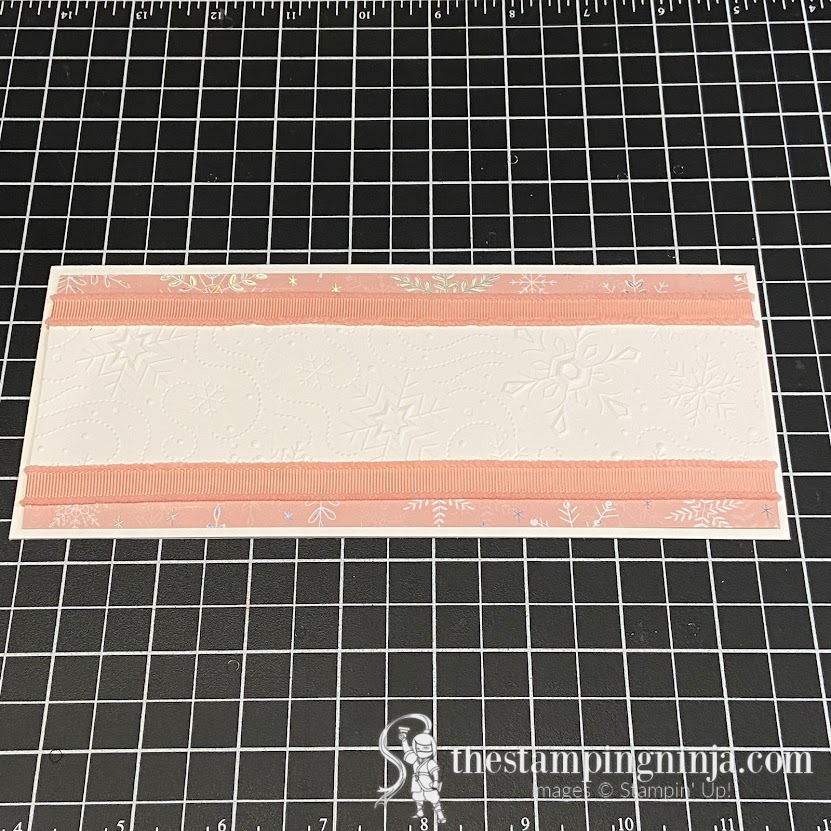
- Wrap two 12” pieces of Blushing Bride Frayed Grosgrain ribbon around your DSP (at the edge of the white embossed piece), secure the ends with adhesive, and adhere to the card base using Stampin’ SEAL.
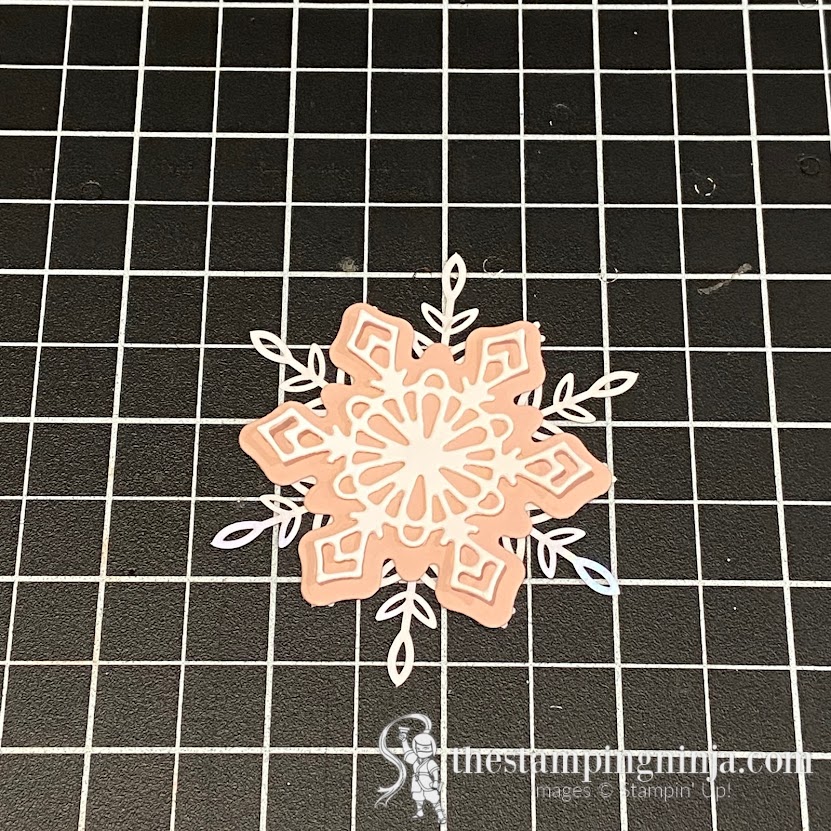
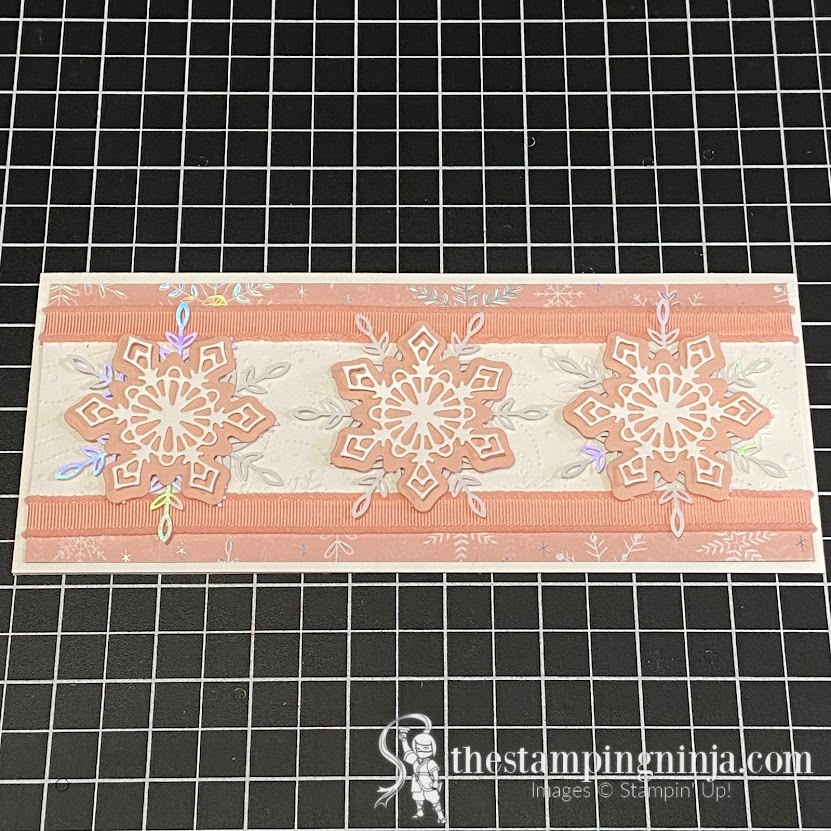
- Crop the following with your Gingerbread dies using your Stampin’ Cut & Emboss machine: three detailed snowflakes in Basic White cardstock and three snowflake backgrounds in Blushing Bride cardstock.
- Adhere the white snowflake to the Blushing Bride snowflake with a Glue Dot in the center. Then, adhere them both to an iridescent Wonderful Snowflake with another Glue Dot.

- Attach all three snowflakes to the card (centered and evenly spaced) using Stampin’ Dimensionals. (hint- start with the center snowflake to ensure even spacing on the sides.)
Prepare to stamp and heat emboss
- Stamp your sentiment on a 9/16″ x 3 3/8″ piece of Basic White cardstock using Versamark ink. Quickly dust some silver Embossing Powder over it, remove the excess, and set in place with your Heat Tool.
- Punch the ends of your sentiment with the Banners Pick a Punch and adhere to the card with Stampin’ Dimensionals.
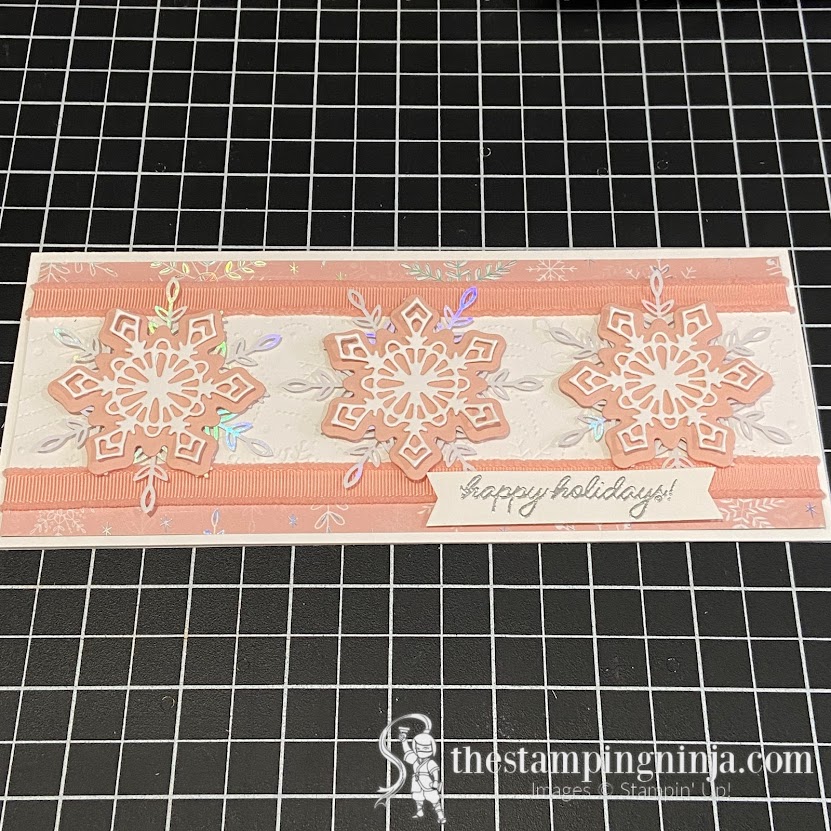
- Attach five Rhinestone Basic Jewels as shown.


Want an easy to read copy of instructions that you can print or download? A complete PDF tutorial can be found by clicking the button below.
Before you go
Hop on over to see what Jo Blackman, from the UK, has to share with you. She does amazing work and I am sure that you will not be disappointed! Also be sure to hop along with us next month when we will be showcasing new items from the upcoming January-June 2022 Mini Catalog.

I would love to hear from you. Please let me know what you think of my Winter/Holidays for the Stampers Showcase Blog Hop card.
If you would like to purchase the supplies used to make the Winter/Holidays for the Stampers Showcase Blog Hop card, you can click here or any of the photos below. When ordering, be sure to enter my monthly host code to take advantage of the Ninja Loyalty Rewards Program.
If you enjoyed this post, please be sure to…
- Sign up for my Newsletter and receive a FREE exclusive PDF Tutorial.
- Sign up to get blog posts delivered to your in box.
- Use this Month’s Host Code on orders under $150 to earn your way to a FREE $50 shopping spree on me using the Ninja Rewards Loyalty Program.
- Shop and save the CLEARANCE RACK and PRODUCT BUNDLES.
- View My Gallery for more great inspiration.
- Follow me on PINTEREST, FACEBOOK, INSTAGRAM, and YOUTUBE.
As soon as I saw the first photo I said to myself ‘well that is just so pretty’. Really like the card and I don’t even like blushing bride!! Lx
Thank you Liz! I feel the same way about Blushing Bride, but it really works for this card. 🙂
Loving all the layering on your gorgeous card Melissa x
Thank you so much Mo!
Oh this is just gorgeous! I love it. Can I case it? xx
Thank you Kate! Of course you may case it. I would be honored to have you do so. 🙂