
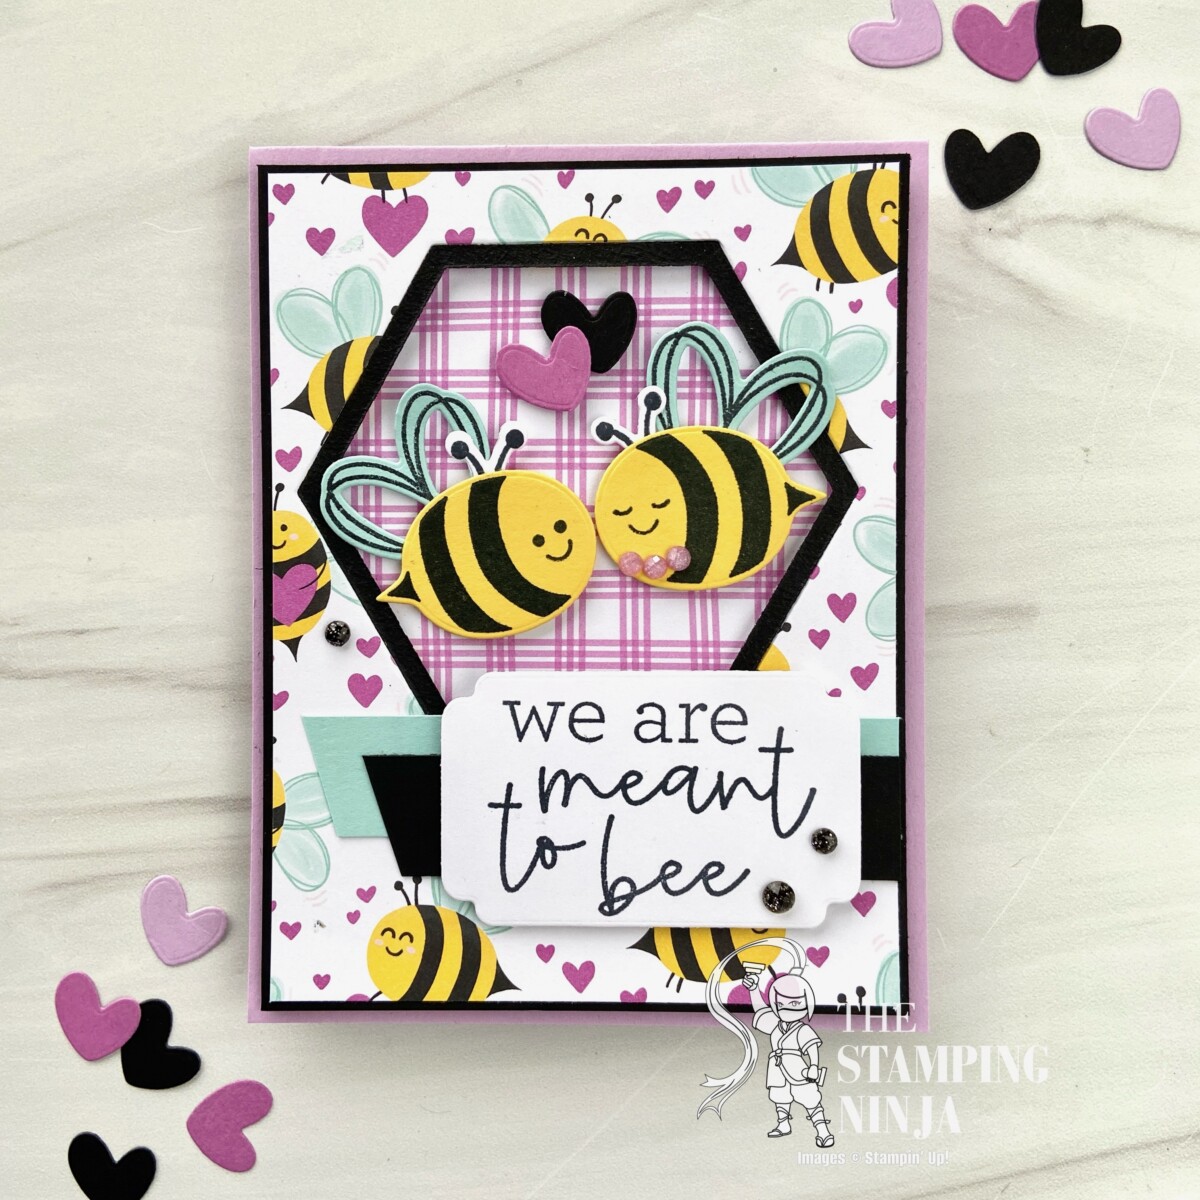
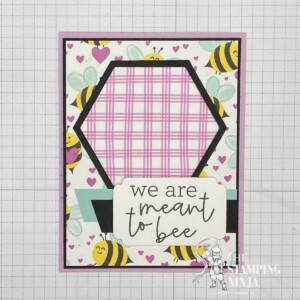
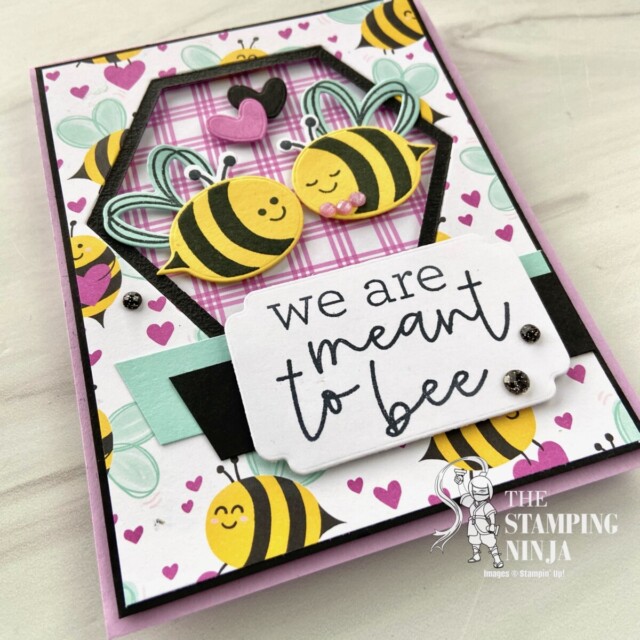
I have an adorable crafty inspiration card for you today called we are meant to bee.
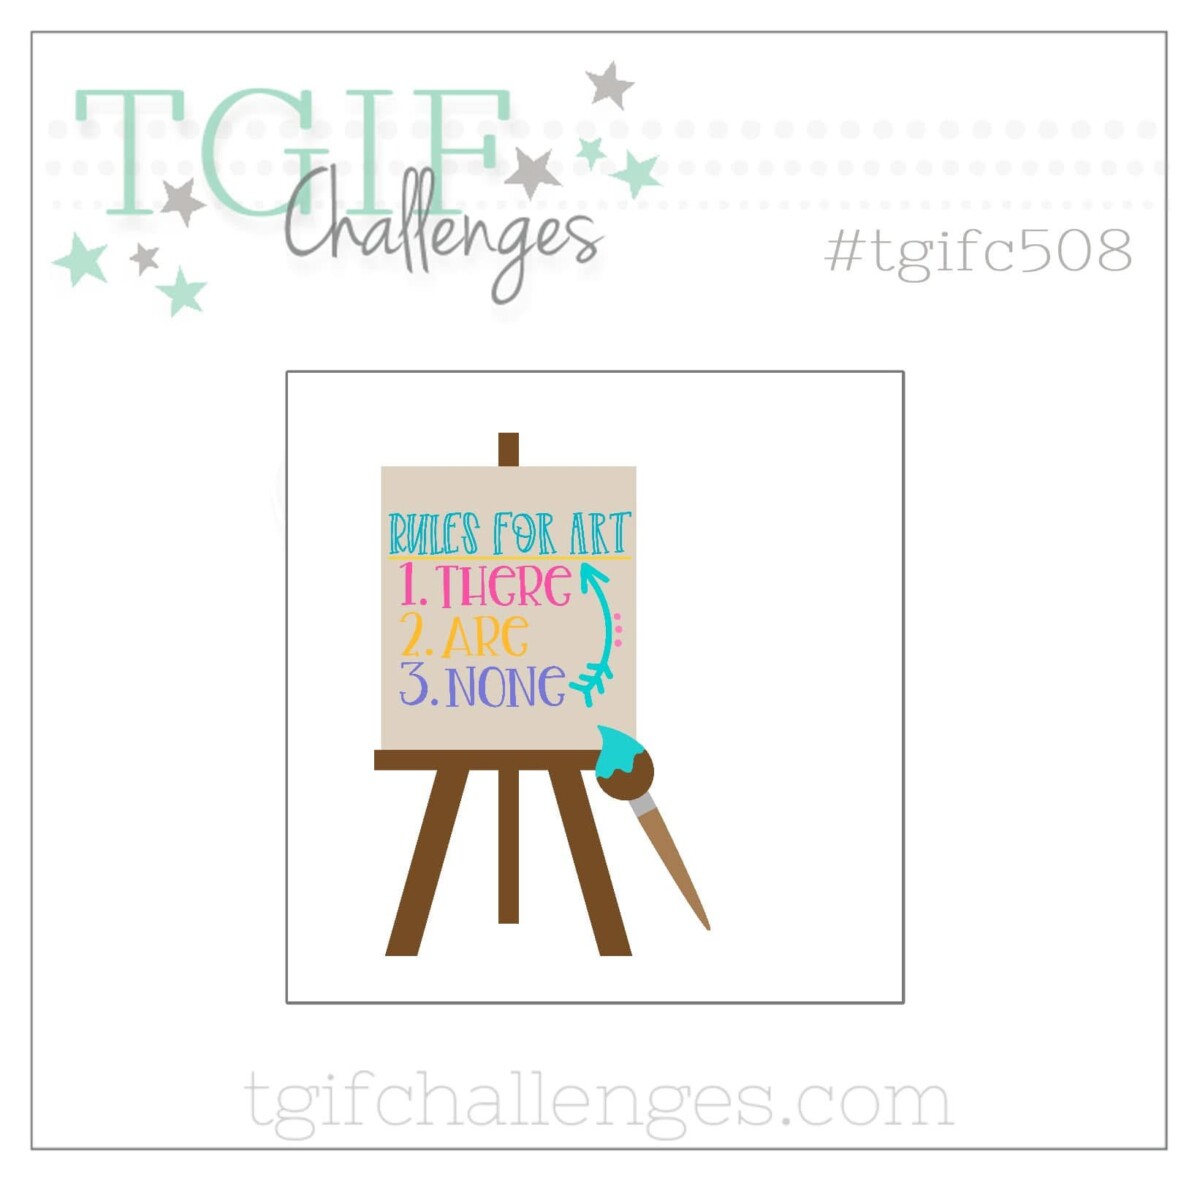
Our challenge over at TGIF Challenges this week is that there is none. We’re looking for some crafty inspiration!
There are no rules in art, so with this in mind, I created this adorable Valentine’s Day card for my husband.
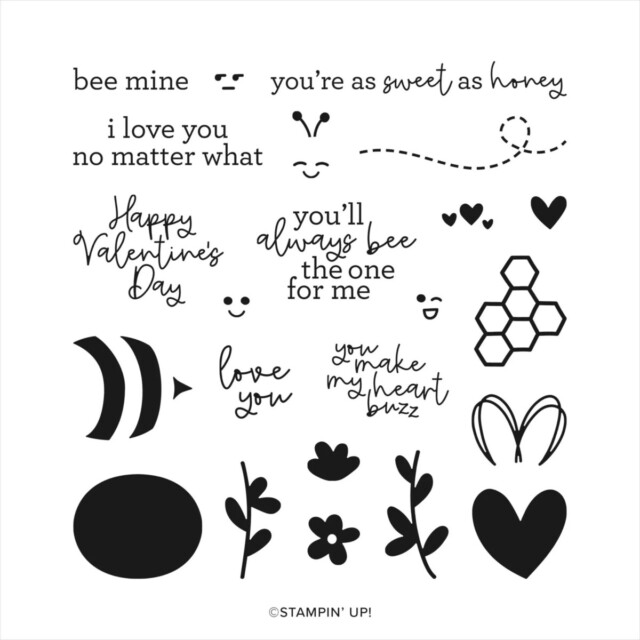
I have the Bee My Valentine stamp set and punch, but Stampin’ Up! just released another bee set called Meant to Bee. The sets are similar, but this new one comes with dies, that include large hexagon shapes.
Here is a comparison of the two different sets. The one on the left has a coordinating punch to cut out the bee.
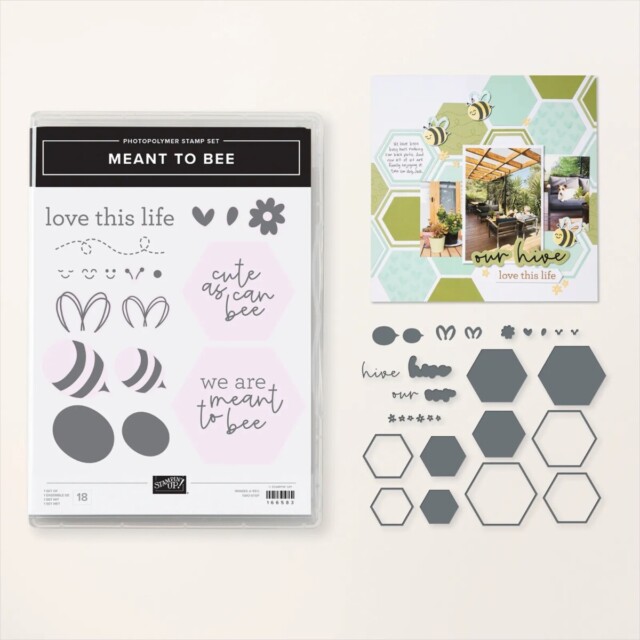
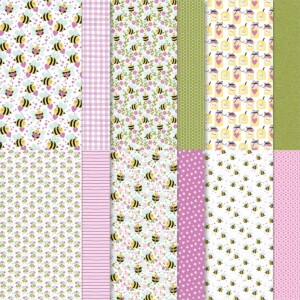
You can find the new set (Meant to Bee) in the January 2025 Scrapbooking brochure and online. It even has coordinating DSP that is much like the bee DSP that came with the original Bee My Valentine set, but it is in different colors. It’s called Cute as Can Bee.
To make the card
- Begin with a 4 1/4” x 11” piece of Fresh Freesia cardstock, score and fold at 5 1/2” to form your card base.
- Adhere a 3 7/8” x 5 1/8” piece of Cute as Can Bee DSP to a 4” x 5 1/4” piece of Basic Black cardstock.
- Crop a hexagon out of your layered piece, about 1/2” from the top, using the 2nd smallest hexagon die. (You will have a large cut out hole and a separate, thin hexagon.)
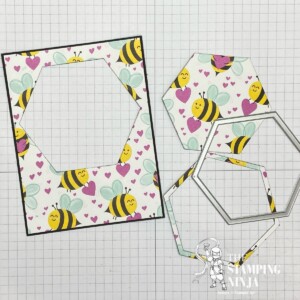
- Insert the thin hexagon into the cutout space with the black side facing up. Hold it in place, flip the piece over, and tape it in place with some Scotch tape.
- Adhere a 3 1/2” x 3 1/2” piece of Cute as Can Bee DSP to the card base. (Hint- lay your layered piece, with the hexagon cut out, on top to ensure the DSP lines up with the hole.)
- Adhere the layered DSP, with the hexagon cutout, to the card base using Stampin’ Dimensionals.
- Make a diagonal cut on a 3/4” x 3 3/4” piece of Pool Party cardstock and a 3/4” x 3 3/8” piece of Basic Black cardstock. Layer and adhere them to the card with the right edges equal to the edge of the DSP.
- Stamp your sentiment on a piece of Basic White cardstock using Memento black ink. Crop the image with the Something Fancy dies and adhere to the card using Stampin’ Dimensionals.
Time for the bees
- Using Memento black ink, stamp the following; two small bee bodies on a piece of Daffodil Delight, two antennas on a piece of Basic White, and two sets of small wings on a piece of Pool Party cardstock.
- Crop your stamped images, as well as a heart in Basic Black and Petunia Pop cardstock.
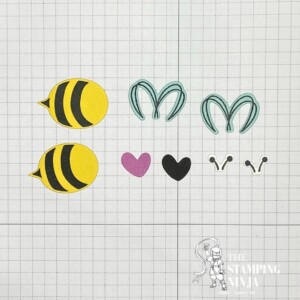
- Stamp some faces on your bees using Memento black ink. Assemble and adhere the bees and hearts together and adhere them to the card using Stampin’ Dimensionals.
- Attach three 2024-2026 In Color Shimmer Gems to the bee and three Adhesive-Backed Sparkle Gems to the card as shown.
A complete PDF tutorial (with more pictures) for the Meant to Bee card can be found by clicking on the button below.
I would love to hear from you and see what you can make for this challenge. Visit the TGIF Challenges Blog, and join us by uploading your creation and don’t forget to leave me a comment below.

If you would like to purchase the supplies used to make the Meant to Bee card, you can click here or any of the photos below. When ordering, be sure to enter my monthly host code to take advantage of the Ninja Loyalty Rewards Program.

January 2025 Kit to Go: Delightful Wishes
My January 2025 Kit to Go is available for purchase. The cards are made with the new Delightful Wishes bundle, and they are oh, so pretty!
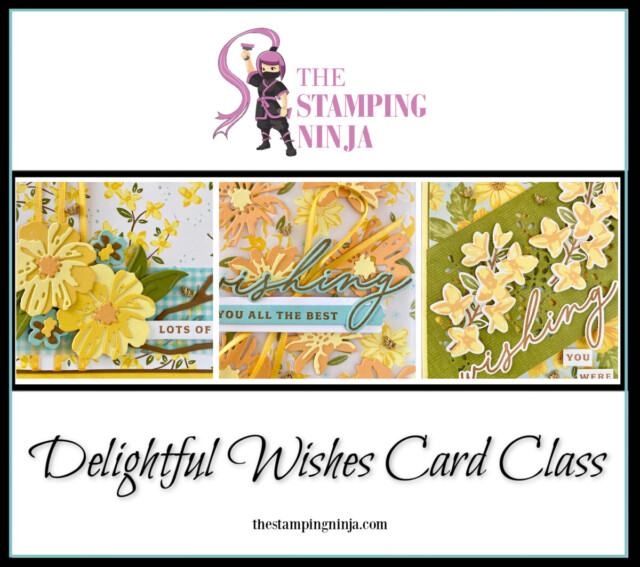
There are three beautiful card designs in the kit, and enough supplies to make two of each design.
Three kit options are available, so whether you need the stamp set, just need the supplies, or only want the instructions, there’s something for everyone. Click the button below to read all about these gorgeous cards, learn about my price reduction for the kits, and reserve yours today.
If you enjoyed this post, please be sure to…
- Sign up for my Newsletter and receive a FREE exclusive PDF Tutorial.
- Sign up to get blog posts delivered to your in box.
- Use this Month’s Host Code on orders under $150 to earn your way to a FREE $50 shopping spree on me using the Ninja Rewards Loyalty Program.
- Shop and save the CLEARANCE RACK and PRODUCT BUNDLES.
- View My Gallery for more great inspiration.
- Follow me on PINTEREST, FACEBOOK, INSTAGRAM, and YOUTUBE.
This is such a cute card!!
Thank you so much Mary Lou❤️
Melissa