
Hello, welcome to the Stampin’ Pretty Pals’ Blog Hop! This month our Design Team created “Birthday Bonanza” projects to inspire you to make for all of your family and friends. We hope you enjoy and are inspired by them! Don’t forget to leave comments because we all love hearing from you! At the end of my post, you will find the full line-up to help you “hop” along from Pal to Pal.
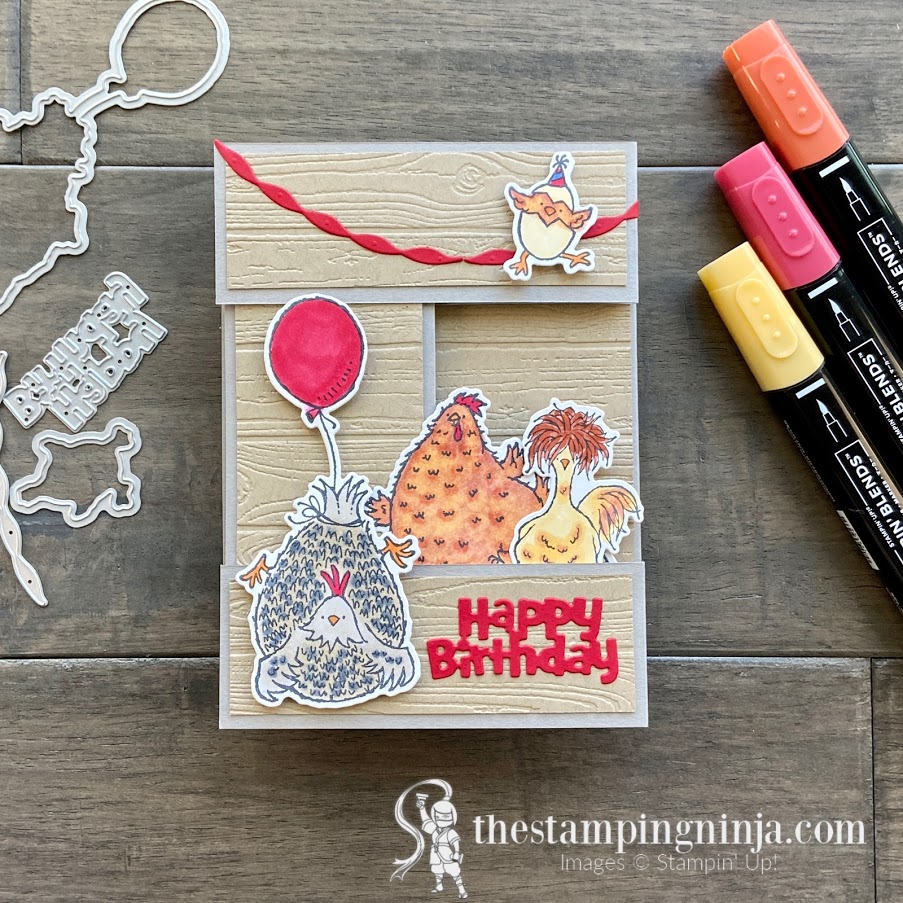
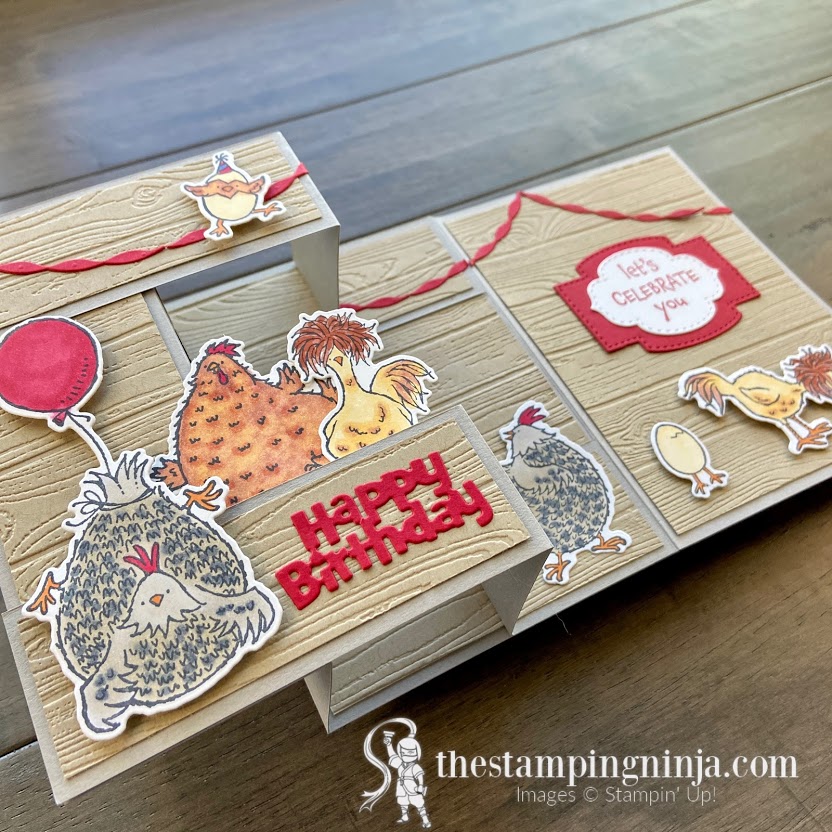
With a “Birthday Bonanza” theme this month, I just had to make a fun fold with the Hey Chic stamp sets. There are so many celebratory chickens, who could resist?
Between the two sets, I had eight different chickens to choose from. I narrowed it down to my favorites and made a fun fold to make sure there was room for all of them.
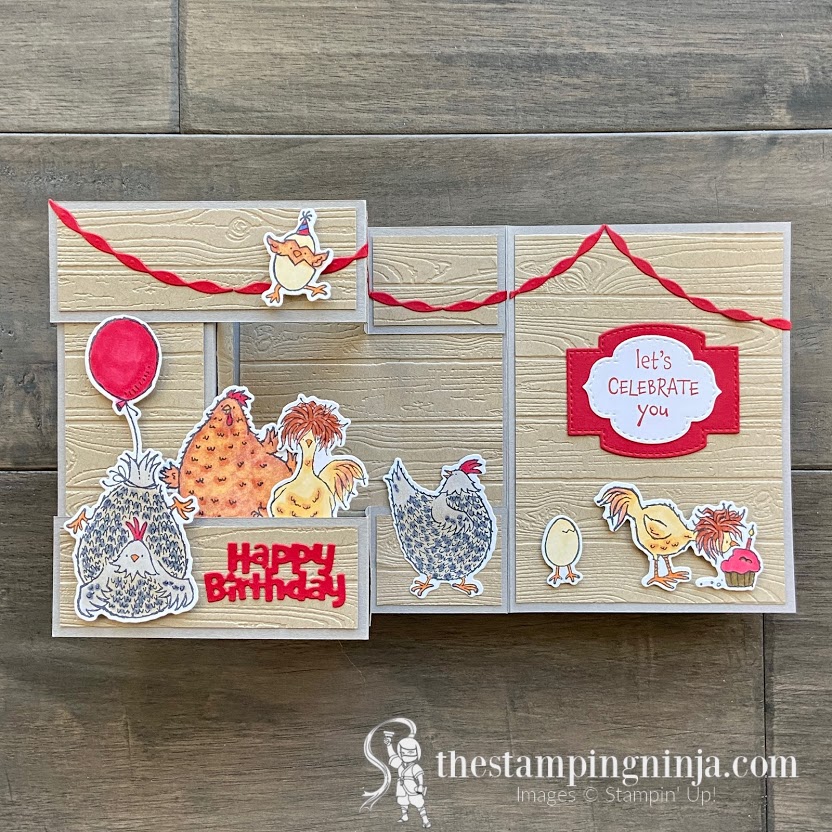
The fun fold is from another demonstrator, Bronwyn Eastley, that I purchased a PDF from a long time ago. I did, however, change a couple of sizes on it.
To make the card
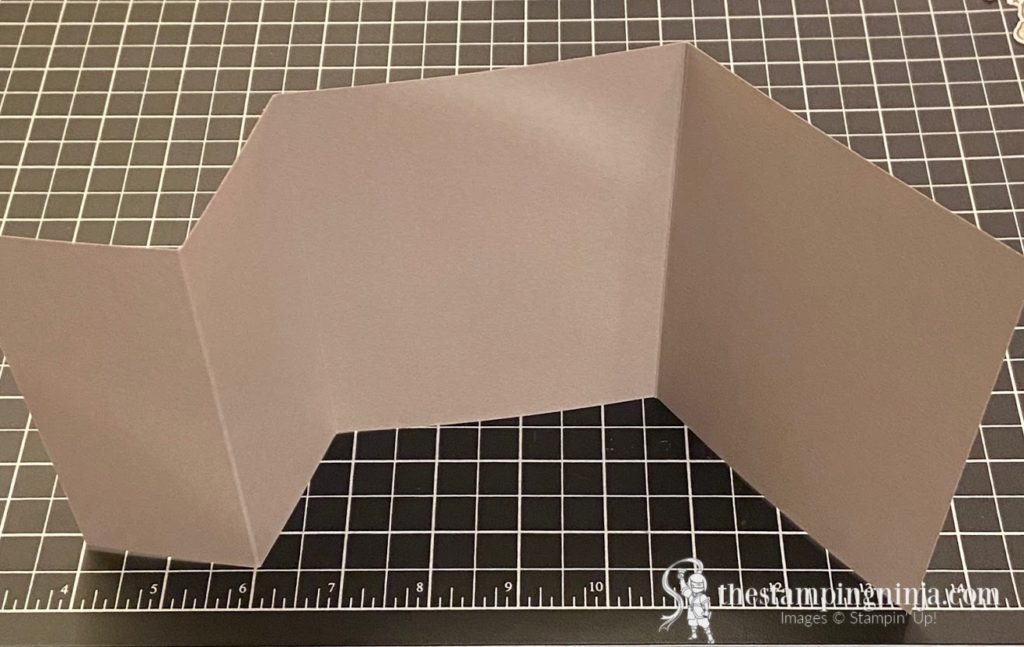
- Begin with a 5 1/2″ x 12″ piece of Gray Granite card stock, score and fold at 2″, 4″, and 8″ to form your card base.
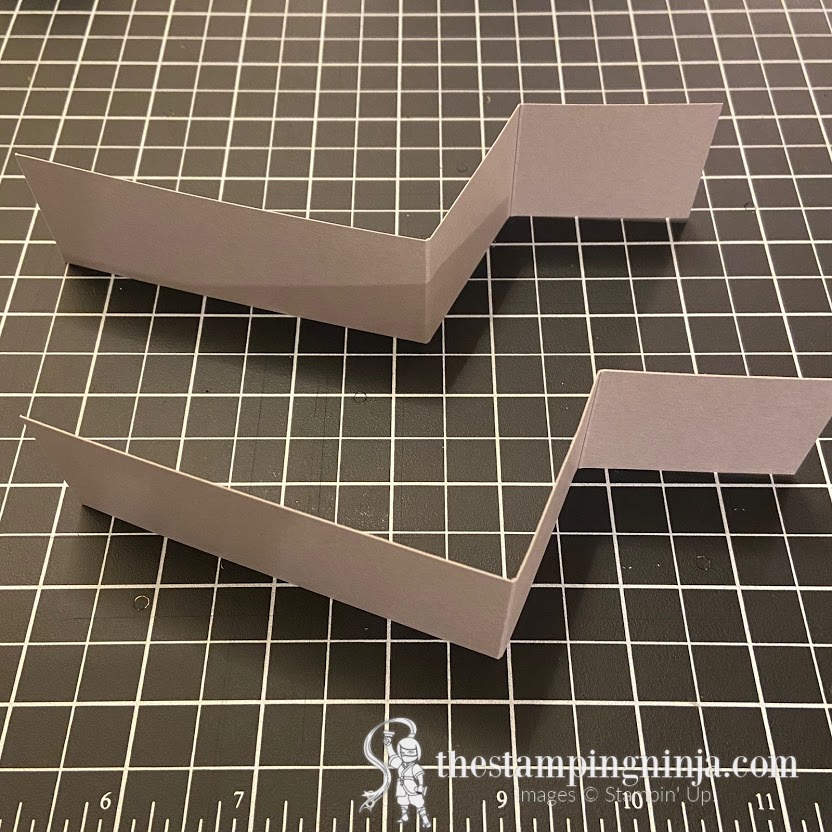
- Cut two 1 1/2 ” x 8″ pieces of Gray Granite card stock, score and fold at 4″ and 6″ to form the “z’s” for the top edge and bottom edge of the card.
- Sandwich the following sized pieces of Crumb Cake card stock in the Pinewood Planks embossing folder and run through your Stampin’ Cut & Emboss machine: 2 pieces of 5 1/4″ x 3 3/4″, 2 pieces of 5 1/4″ x 1 3/4″, 2 pieces of 1 1/4″ x 3 3/4″, and 4 pieces of 1 1/4″ x 1 3/4″.
- Adhere the corresponding embossed Crumb Cake pieces to the card base and “z” fold pieces so that each piece fits equally in between all the ends and folds using Stampin’ SEAL.
- Attach the “z” pieces to the card by adhering the left side of the 4″ pieces to the top and bottom edges of the 2″ fold of the card base. (this is the very front of your card)
- Adhere the right side of the “z” pieces to the 8″ fold mark on the card base. (you should now have a boxed “z” fold card)
Time for the birthday bonanza chickens
- Stamp all the chickens on a piece of Basic White card stock using Tuxedo Memento black ink and color with the following Stampin’ Blends: Basic Black, Cajun Craze, Crumb Cake, Daffodil Delight, Gray Granite, Night of Navy, Pumpkin Pie, Real Red, Soft Suede, and So Saffron.
- Using your Stampin’ Cut & Emboss machine, crop out the following: all your chickens with the Birthday Chick dies and Hey Chick dies, 6 Real Red streamers and a Real Red Happy Birthday with the Birthday Chick dies, and a Real Red and Basic White label with the Stitched So Sweetly dies.
- Adhere the Real Red streamers across the top of the card and the Happy Birthday sentiment on the bottom front using Multipurpose Liquid Glue.
- Stamp your sentiment on the Basic White label using Real Red ink, adhere to the Real Red label and attach to the card using Stampin’ SEAL.
- Layer and adhere the orange and yellow chicken behind the bottom “z” fold and the tan/black chicken to the bottom middle of the card using Multipurpose Liquid Glue.
- Adhere the rest of the chickens to the card using Stampin’ Dimensionals as shown.
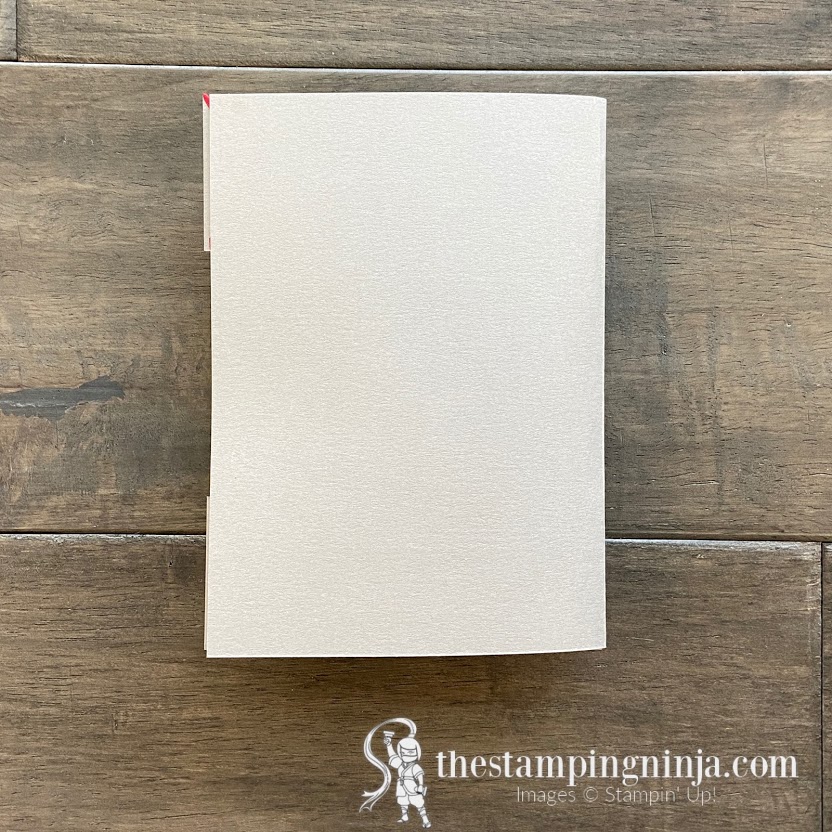
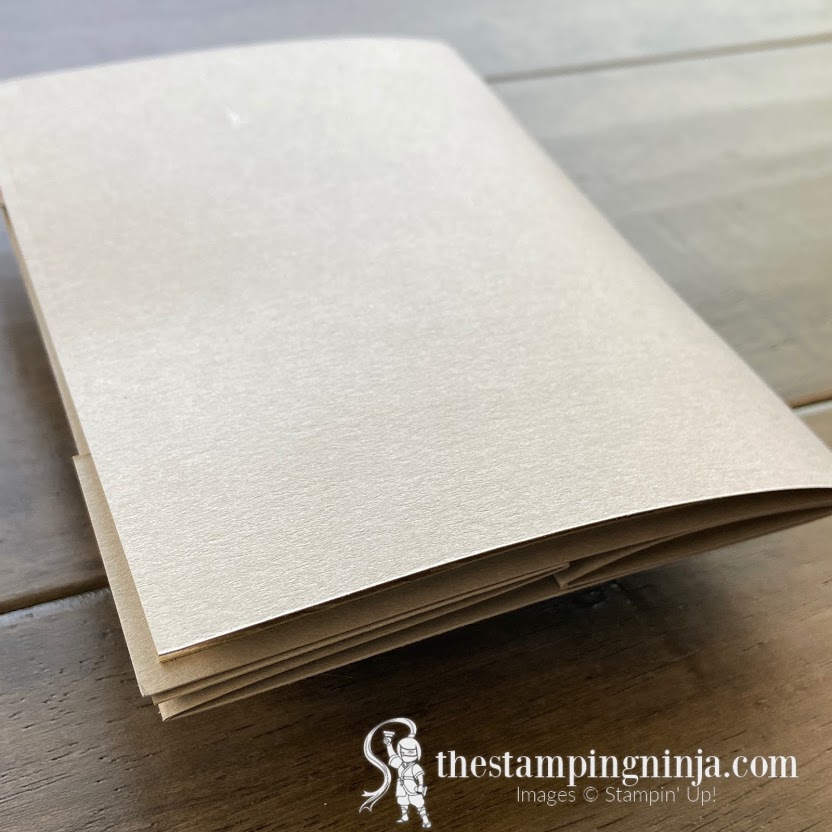
Although this card is rather thick when all is said and done, it will still fit in an envelope. However, it require some extra postage.
A complete PDF tutorial can be found by clicking on the button below.
More inspiration awaits! Use the Blog Hop Line-up below to visit the rest of this month’s Design Team. My fellow Pals are excited to show you what they’ve created! Mark your calendars for our next blog hop on March 10th when our theme will be “Cute Critters” where the design team will be sharing projects that will feature critters of all sorts to inspire you. Don’t miss the fun! Until then, please stay safe and have fun in your craft room.
BLOG HOP LINEUP
- Mary Fish at Stampin’ Pretty
- Melissa Seplowitz at The Stamping Ninja
- Peggy Noe at Pretty Paper Cards
- Lori Pinto at LollyPop Paper and Ink
- Rosanne Mulhern at Heartfelt Stamping
- Renae Novak at Blessed By Cards w/Renae Novak
- Su Mohr at Aromas And Art
- Windy Ellard at Windy’s Wonderful Creations
- Deb Walker at Deb Stamps Life
- Stesha Bloodhart at Stampin’ Hoot!
- Tricia Chuba at ButterDish Designs
- Beth McCullough at Stamping Mom
- Jeanie Stark at Just Stampin’
- Rae Harper Burnet at Wild West Paper Arts
- Debbie Mageed at Secrets to Stamping
- Ann Murray at Murray Stamps INK
- Jackie Beers at Blue Line Stamping
- Jennifer Roque at Stamp Camp with Jen
- Pamela Sadler at Stampin Pink Rose
- Sara Stuart at Sentiments by Sara
- Lisa Milligan at Stamping Made Simple
- Leah O’Brien at Honey Bee Stamping & More!
- Sue Jackson at Just Peachy Stamping
- Debbie Crowley at expressively deb…
- Karen Hallam at Karen’s Stamping Habit
- Lisa Ann Bernard at Queen B Creations
- Mary Hanson at Up North Stampin’
- Lori Webb at Clever Copies
- Lynn Kolcun at Avery’s Owlery
I would love to hear from you. Please let me know what you think of my Hey Birthday Chic for the Birthday Bonanza card.


Such a fun and imaginative card! I love it all, and the background just makes it!!
Thank you so much Mary! I had a lot of fun making it.
Absolutely love this! I didn’t get the chick bundles this time, and you are making me regret that decision. thanks so much for the pdf instructions!
Thank you Sue! Isn’t it crazy how that works? It’s never too late to get them. 🙂
Love those crazy chics!
Thank you Rae. Me too!!
Melissa, this card is wonderful in every way! Who wouldn’t love to get this card? The Fun Fold gives you so much more room to be creative. Great inspiration!
Thank you Debbie! You always have the nicest things to say. I really enjoyed making this card and hope that others do as well. 🙂
So Fun, great card for a stamping ninja!
Thank you Renae! I try my best. 🙂
Great barnyard scene, melissa!
Thank you Su! I enjoy making a good scene.
Awesome fun fold card!
Thank you so much Wendy 🙂
What fun, Melissa! And a great fold that I’ll want to try. Thanks for sharing!
Thank you Karen! It’s a great fold, so I think you will enjoy it.
This is such a fun card, Melissa. Thank you for the tutorial. Definitely on my list to try.
Your welcome Debbie. Glad you like it. 🙂
This is just adorable. Love the creativity and fun fold. On my list to try soon!
Thank you Lynn. I had a lot of fun making it.
What a fun card!
Thank you!
I love your card and plan to make it this week. What are the sizes of the two “Z” pieces that get folded at 4 and 6. Thanks so much for sharing with us.
Oopsie. Thank you so much for asking and I’m glad you like it. The size is 1 1/2″ x 8″. I updated it, as well as, the tutorial. Have fun with yours and let me know if you need any help with it. 🙂
I just love THis fold fold card! Can’t wait to try it!
Thank you! Have fun making yours. 🙂
I love this card! The chicks are wonderful , as is the fun fold!
Thank you so much Jackie!